

PP: Side of the Road Convos - An Investigation into Air Freshener Design & Sensation
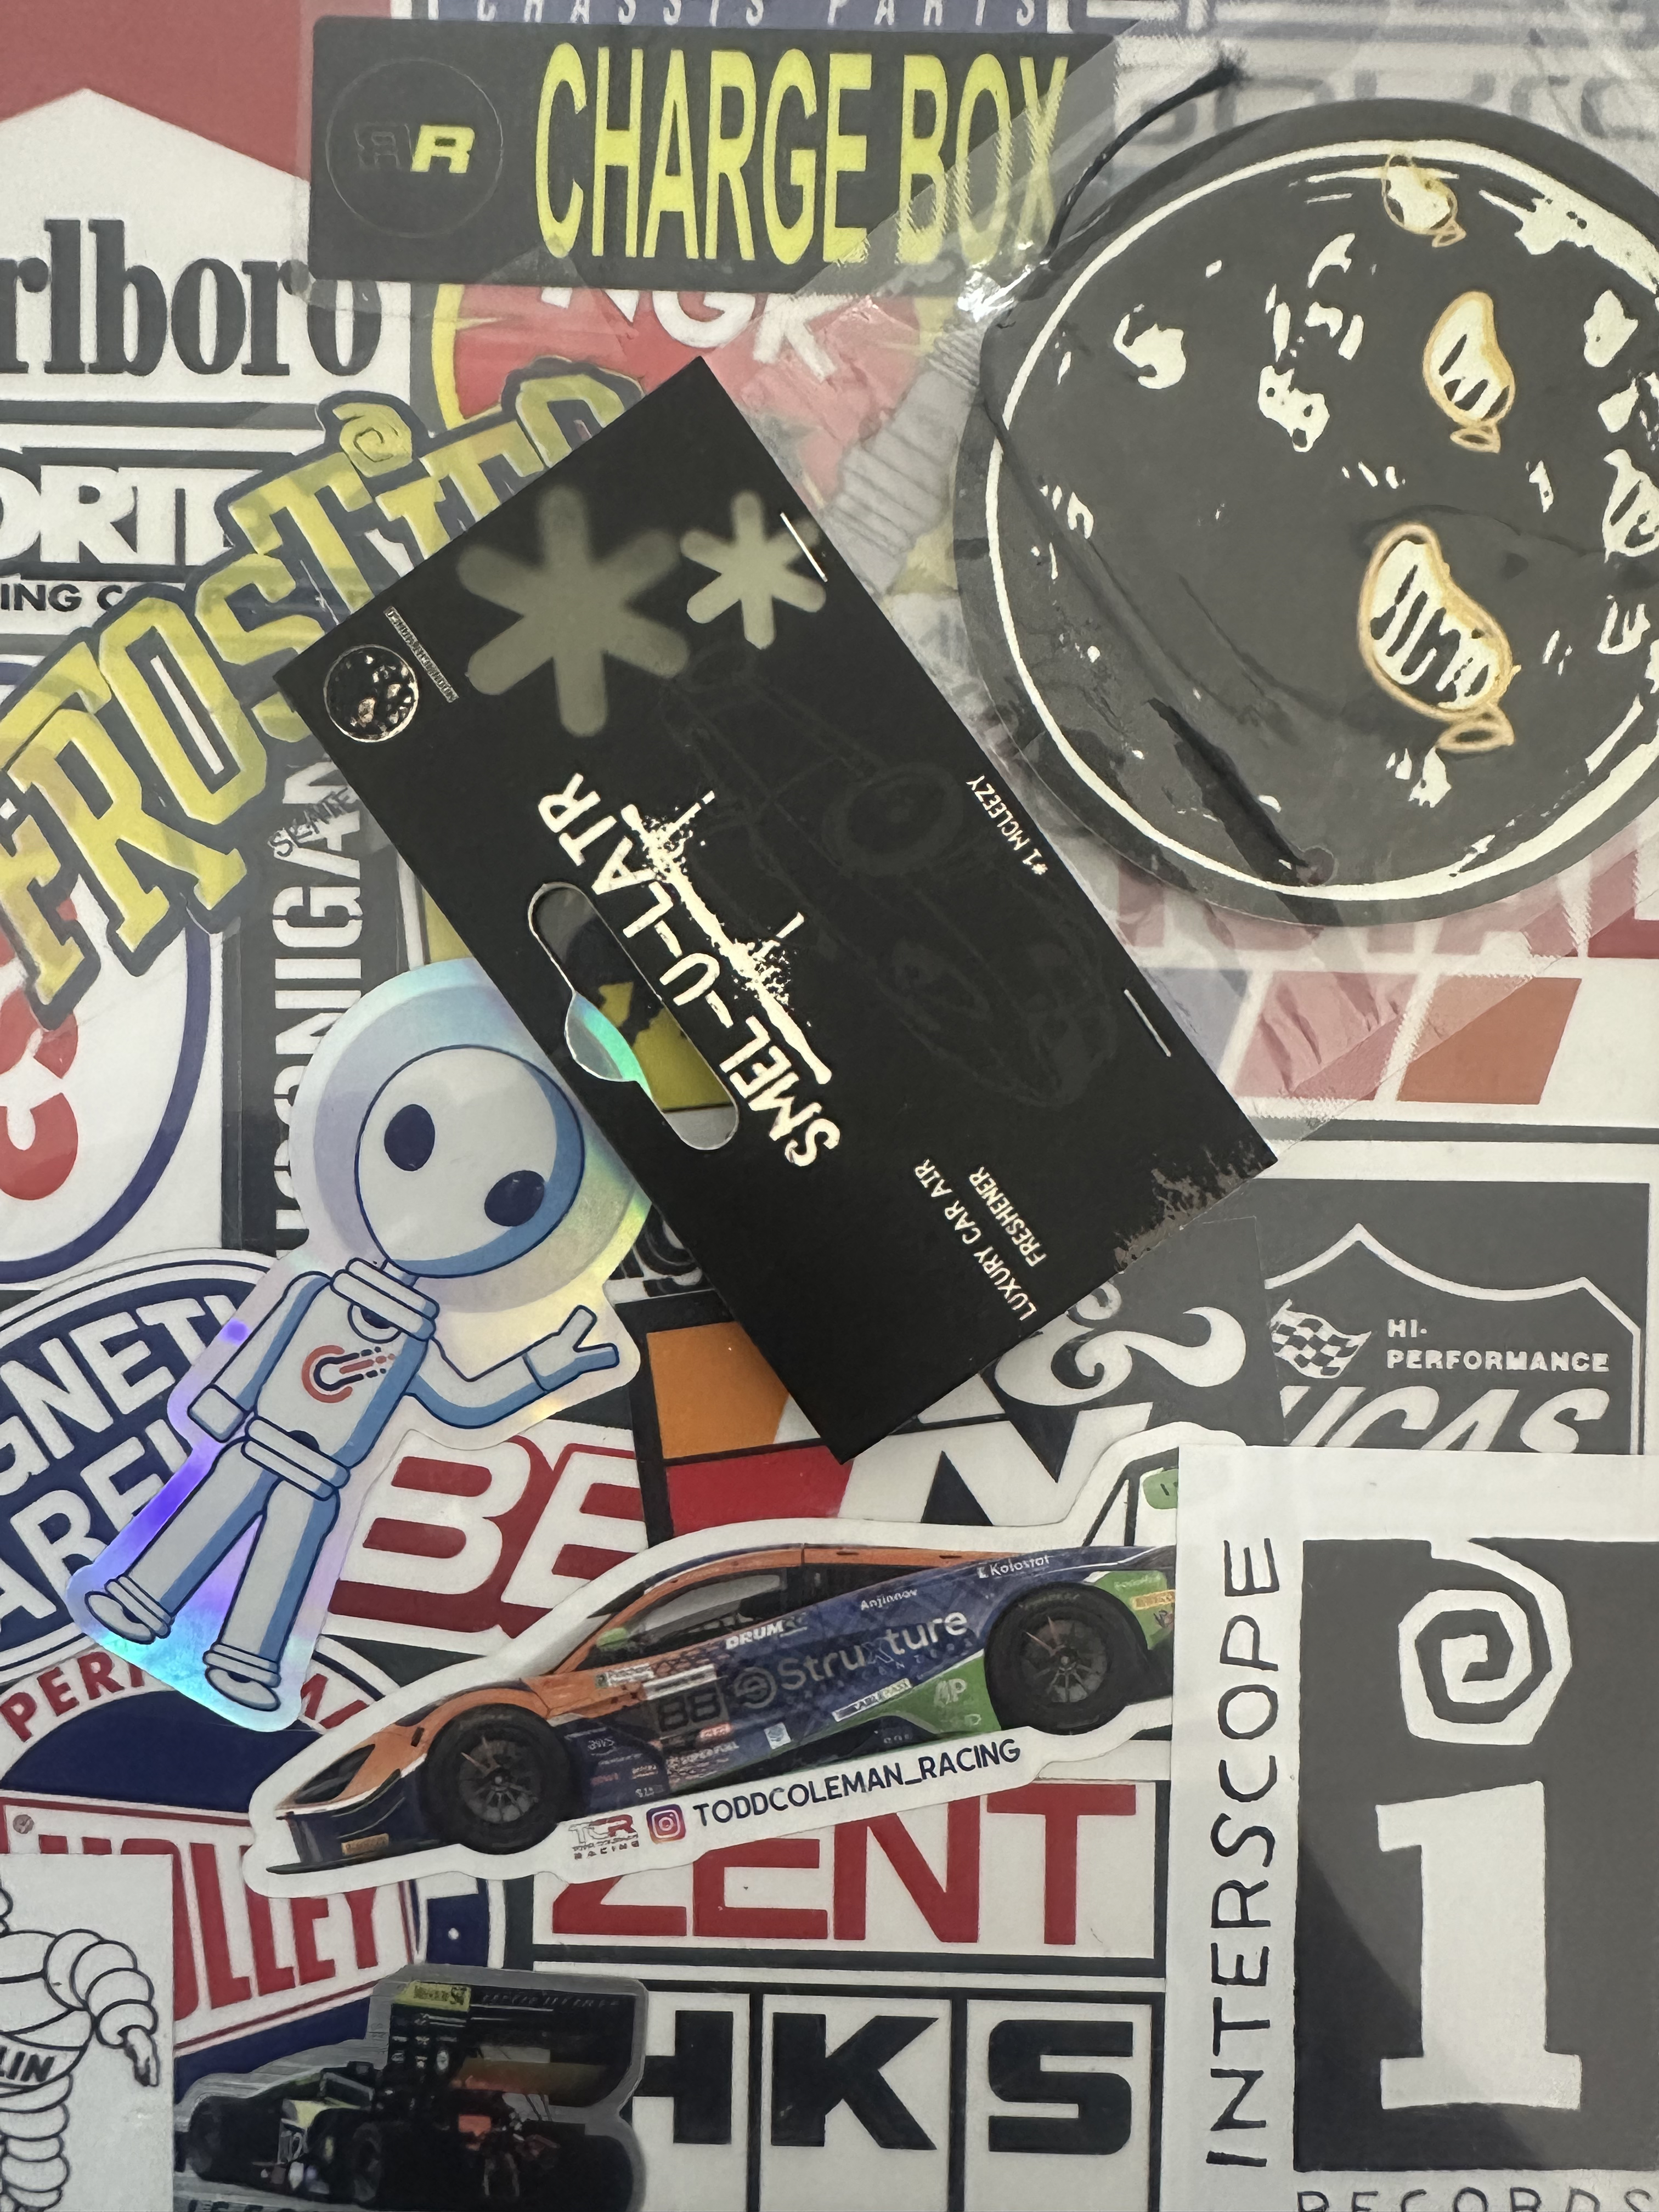
Here at Moonlight Mango, we are always trying to find ways to improve and do what we feel is best for our business. Not only do we pay attention to what customers are looking for when they buy our product, we try to figure out what they want from car air fresheners in general. We also consider the people who may not want to buy our product and instead make their own air freshener. We want to see how far people are willing to go to make their car smell as comfortable as possible. Therefore, we decided to research many different types of DIY air freshener tutorials and try a couple to see how successful they turn out.

One of the most common DIY videos that I saw were the mini car diffusers where you’d mix a liquid diffuser base with whatever fragrance oil you wanted your car to smell like. Another tutorial showed how you can add a fragrance to unscented cardboard air freshener by mixing the fragrance oil with dipropylene glycol: a mostly odorless liquid used to help the fragrance saturate into the air freshener and prolong the scent. I definitely learned something new in regards to dipropylene glycol. The tutorials that I’ve seen so far seemed pretty easy, until I saw a recipe for car air freshener ornaments uploaded by K Justice on YouTube.

The ingredients included beads, fragrance oil, and pigment powder. All of those ingredients were added together in a mason jar that you had to shake until all the beads were coated with the fragrance oil and pigment powder. After that, the beads were poured into metal, Texas-shaped cookie cutters that were placed on a pan and then baked. At the end of the video, one of the ornaments was hooked on a string and hung on a rearview mirror. The short video made the tutorial look simple. But when you read the description where it shows you the instructions, you see that the entire process takes over a week to finish. When it’s time to shake all the ingredients together, you have to do that step very often for 1-3 days until the oil is absorbed. Once it’s absorbed and the beads dry, the beads still need 4-5 days to cure before baking. While the result of this tutorial was the most impressive by far, I knew this wouldn’t be one that I’d recreate. The bead ornament tutorial is for those who are able to take time out to finish the process and want to use the ornaments as their everyday car air freshener. My main purpose is to test out some recipes to see how well they worked, but only for a few days.


The first tutorial I tried consisted of candle wax melts that you’d place in a salt & pepper shaker. The holes from the container are supposed to help expel the fragrance coming from the wax melts. And since it's currently summer, the heat from the car is what melts the wax. What I used were the Bronze Mahogany scented wax cubes from the Better Homes & Gardens brand and a small, clear glass salt & pepper shaker. It gave off a nice woody scent mixed with fruits like mango and pineapple. But I liked how I could smell the fruit more than the wood. I followed the tutorial video and tried to put two wax cubes in the shaker. However, the shaker in the video was bigger than the one I had, so the cubes couldn’t fit. Therefore I cut each wax cube into four pieces, giving me a total of eight pieces that were now able to fit inside the shaker. Then I went to the car and removed the Lil’ Moon air freshener hanging on the rearview mirror and placed the shaker in that small rectangular space where you’d see the charging ports below the AC buttons. The first day I was able to smell the scent a little bit, even though the wax didn’t start melting until the third day. I thought the scent would be stronger by then, but I couldn’t smell it anymore unless I held the container up to my nose. I would say that this experiment failed. I think I should have placed the air freshener in one of the cup holders in front of the center console so that the scent could better reach all over the car. The space I put it in still had a ceiling above it, so it’s possible that the scent couldn’t emanate properly for that reason.


The next DIY tutorial I tried was with cotton balls saturated with fragrance oil and then placed in the salt & pepper shaker. I placed three cotton balls in the shaker. Then I used 20-30 drops of our Pink Sinnamon extract to soak those cotton balls. Following what I saw in the video, I did not soak them entirely. I added what I thought was just enough to detect the scent. By the third day, you can still see the stain of the extract even though they were now dry. Sadly I did place the cotton ball air freshener in the same spot I placed the wax melt air freshener, so again I couldn’t smell the scent unless I brought it up to my nose.
I didn’t realize why these experiments didn’t work until I started reviewing the steps I took with each process. The tutorial videos I watched didn’t tell me where to place the air fresheners in the car, so I focused more on putting them in a place where they wouldn’t fall once the car started moving than in a place where the scent could evenly spread out. This is my first time making DIY air fresheners, so of course I won’t get everything right the first time or even the second. That reminds me of how I mentioned in the beginning that we are always trying to find ways to improve the business. The best way to do that is to learn from your mistakes and keep trying until you figure out what works best. I enjoyed making these DIY air fresheners and am glad I was able to learn a couple new things as I went. So if I do try these experiments again, I know what I could do next time that might help improve the results.


Comments